
I did/plan to do a few things the same:
1. Use Uncle Jim's as a supplier as we had good luck with his red wigglers in the past. This box arrived really banged up, but the worms inside seem fine. I had ordered through Amazon this time to get the farm and the occupants to arrive on the same day. Probably would have been smarter to order them sequentially in case shipping delays left the red wigglers homeless. Is there a good way to recycle these ubiquitous cheap nylonish "goodie" bag textiles? I feel like we get a lot of them -- even from the FRB landfill!
2. Use shredded junk mail, school work, and to-do lists for our "brown" material. I am now on my 3rd paper shredder, but have some tips from the reddit BIFL community about how to oil it every time I empty it and chose a brand with a durable reputation (Fellowes). I haven't been super-selective about leaving out the glossy color printed material, but perhaps I should be. The Factory came with a peat brick but the idea with this is not to add more complexity and extra inputs to our household economy and I'm not convinced that peat is a renewable resource.
I did a few things differently to extend the longevity of this composter:
1. Bought a bin designed specifically for worms and frequently recommended by the reddit/vermicompost community. I selected the Worm Factory because it looked most popular and closest to what we had been using with our old improvised system. For perspective, the previous one had been plastic nesting totes with ventilation holes punched in it. This did the trick, but got brittle over time, didn't drain as well or as conveniently as it could, and when full was a little heavier than what the plastic was specified for. I appreciate the factory is black plastic which camouflages less than immaculately clean nesting trays. I was intrigued by the Urban Worm Bag continuous flow system but had too many doubts about the tidiness of harvest and ability to monitor the health of the worms. Maybe if we scale up we could experiment with that as a second system.
2. Positioned indoors in a more climate-controlled spot. Previously, we had the bin on our back enclosed porch with a wall full of southern exposure windows. It got brutally hot there in the summer and since it was close to our "main" door, we fielded a lot of questions about the unaesthetic muddy looking tote from house guests. When fruit flies got into it, they seemed to quickly find their way into the kitchen and our countertop produce arrangements. The new one is positioned in the basement by our overflow fridge. This is still on a moderate traffic route to allow casual supervision (maybe even extra fitness, because I've taken the stairs a couple extra flights of stairs to check for drainage, escapees and share some tasty scraps). Yet is much more "cool" climate year-round and not subjected to my weekly cleaning routine so I can tolerate it getting a bit messier.
3. Calculate volume of worms needed. I used Appelhof's method to determine we throw off 11.2 pounds of kitchen scraps/week. So I'd need 11.2*12in*12in = 1,612 square inches of worm space to process that. My 14x14 trays can currently hold 784 square inches or 48% of that volume once/if worm populations scale up. If I added 3 more trays to get up to the max 7 tray stack, I'd be able to handle 85% of my kitchen capacity. We plan to continue to slow compost outdoors for the overflow. Tamar Adler's Everlasting Meal book had a ton of recipes that reduce the amount discarded.
4. Gradually introduce worms to food. In the previous bin, I would dump massive quantities in (orange juicing!) and have a boom and bust cycle complete with extra smell and overflowing leachate trays that were difficult to empty. I ordered a pound of worms so I can add about a half pound of scraps per day. In 2 or 3 months (Mar/April '25), their population and throughput should have doubled. June/July '25, around a half year from now, I'd be operating at full 7 tray capacity with 2.7 pounds of worm residents. If all goes well. I have some hints from Appelhof's book on favorite items of worms -- so far they have "disappeared" over-ripe strawberries, seem pretty happy with watermelon rind, and congregate in coffee grounds. I'm holding off on citrus peels which seem aversive to Appelhof's worms, especially since our outdoor compost is orange tree-adjacent seems to have a lot of biodiversity to break citrus down quickly. This has created an awkward dynamic of having 2 compost staging containers on the counter, but I think as the worms settle in, we will find a more streamlined process.


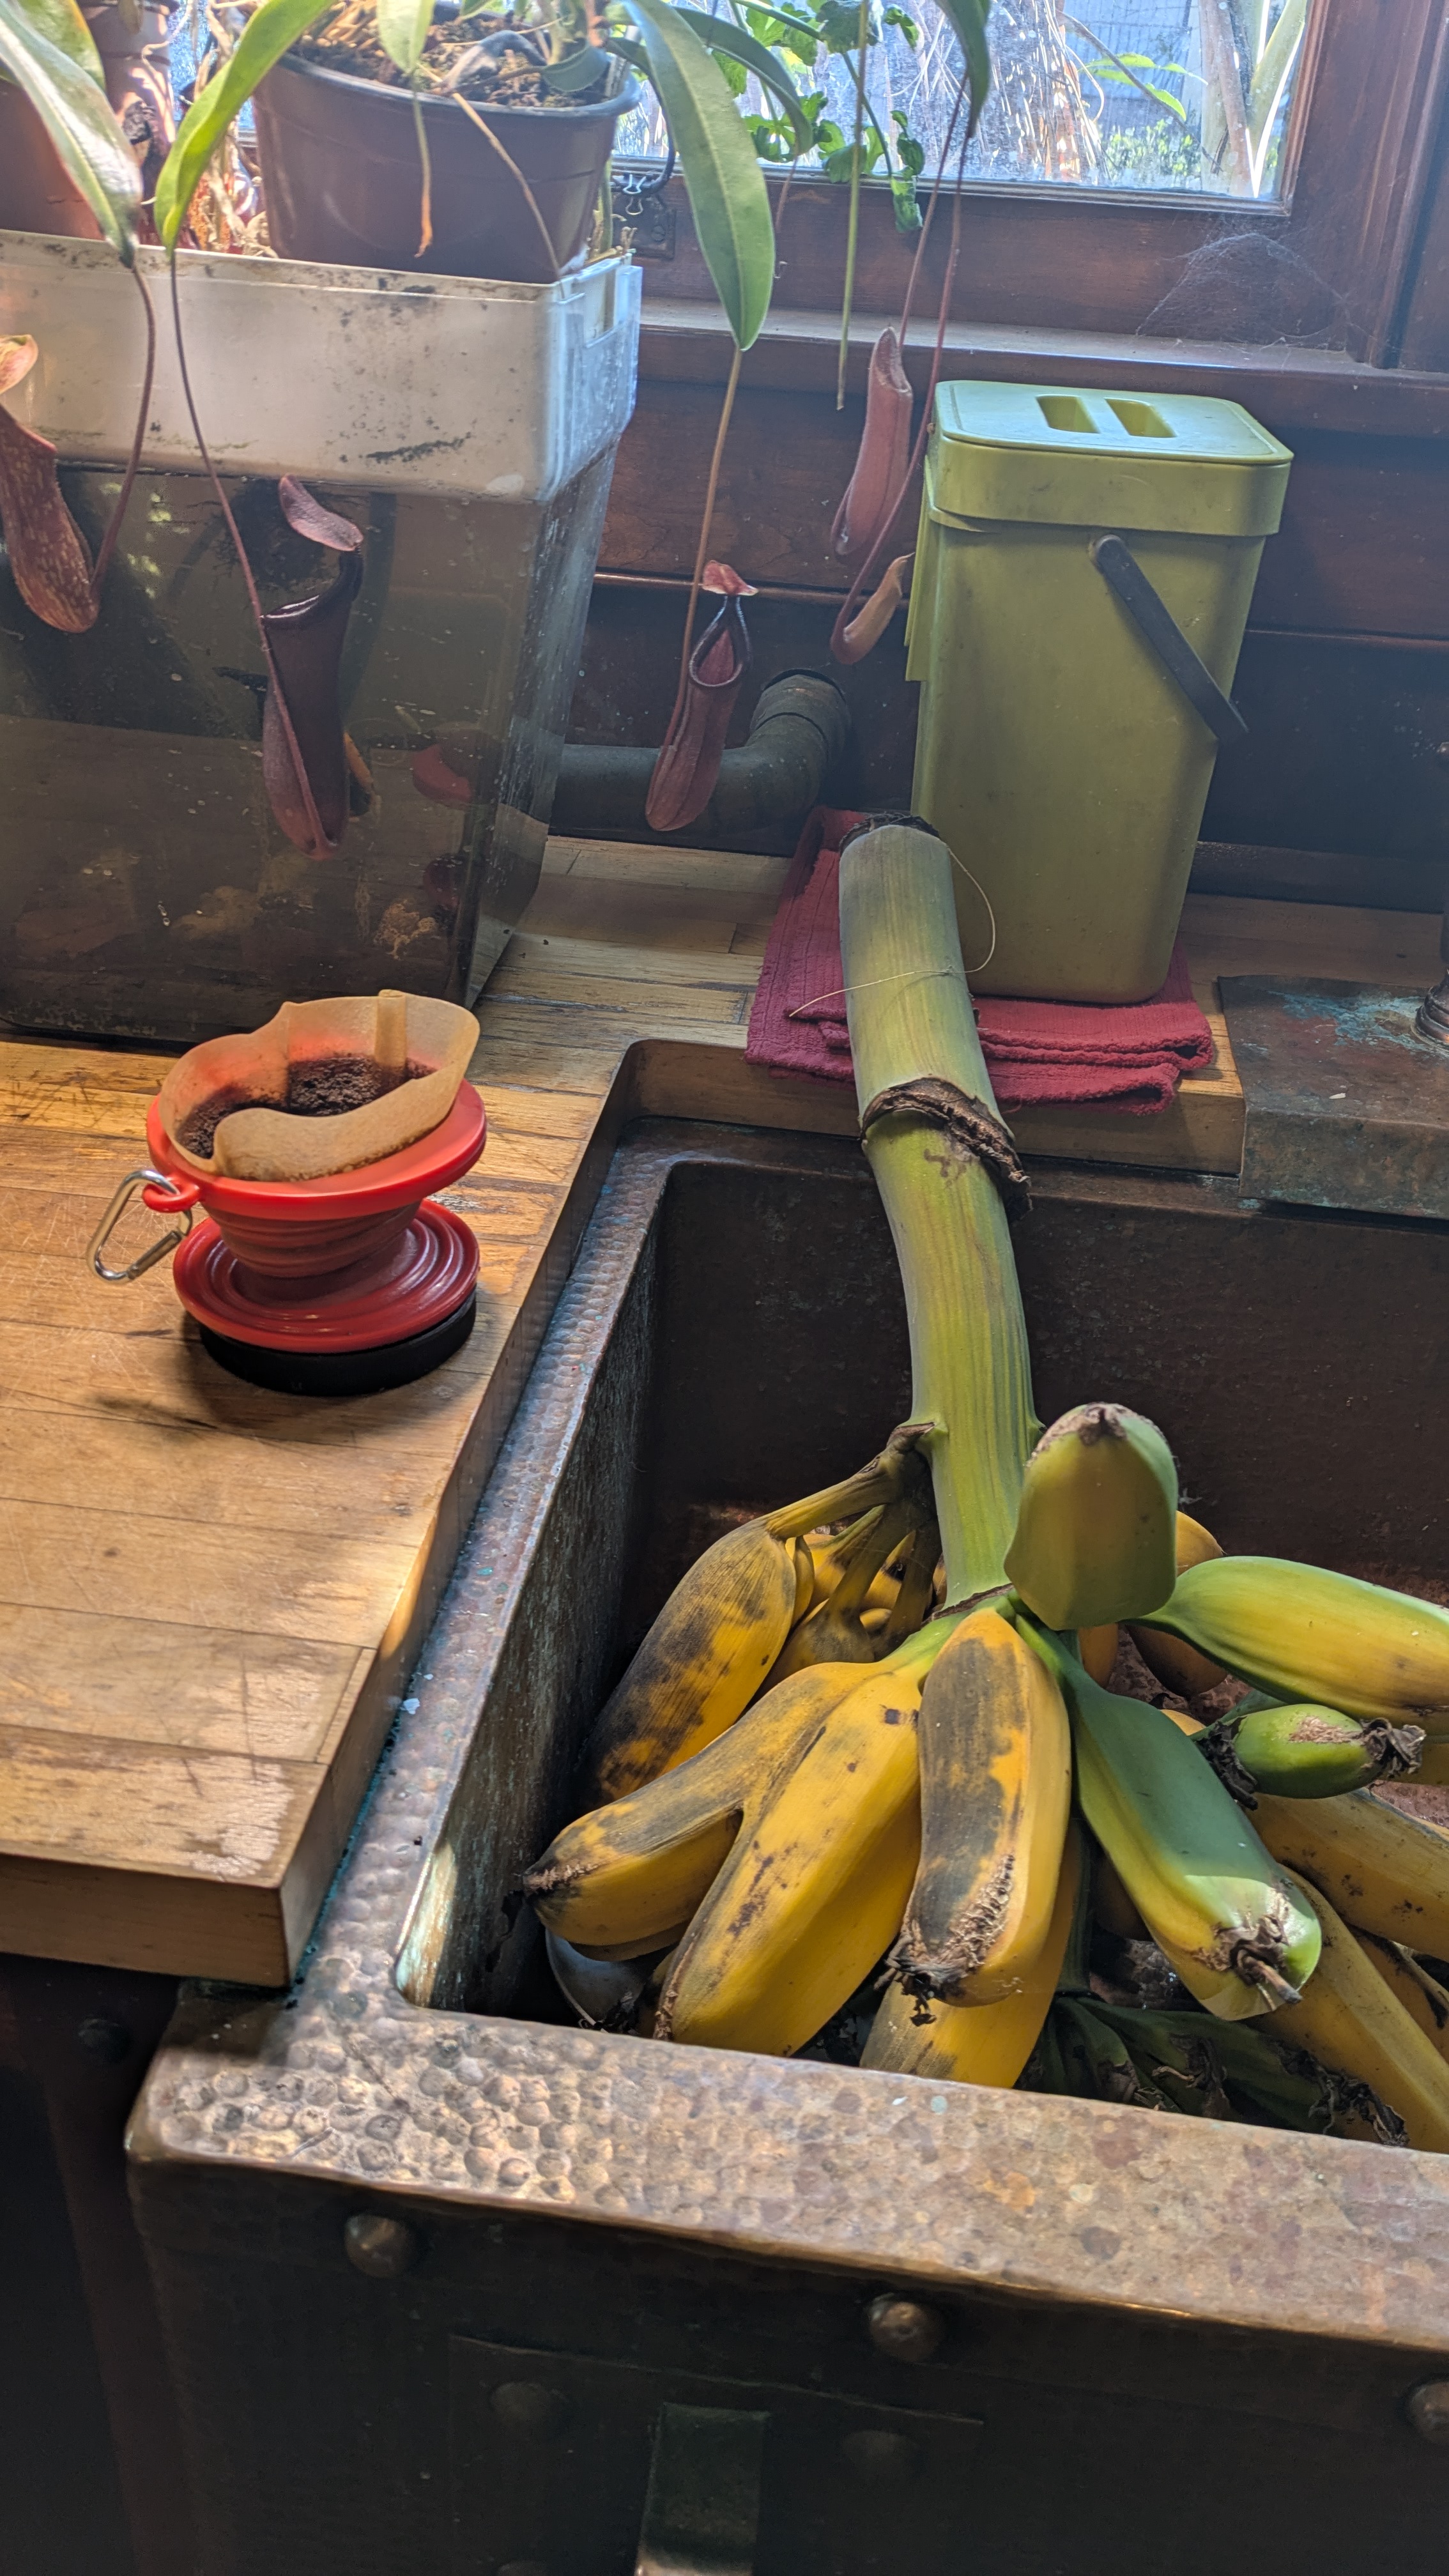
Kitchen sink green composting bucket-used to store under the sink in a cabinet, but that got so much use the door hinge was forever coming loose. Also some choice worm scraps (coffee and bananas from our tree). The contraption to the left is a fresh water shrimp aquarium with a resprouted celery stub and carnivorous pitcher plants in a grow tray. Not central to the system, but showy and maybe they catch some fruit flies? Pingula/butterwort would have been more effective.

Outdoor overflow. We have been lazy composting into boxes, sometimes supported by movable dog kennel fencing for quite some time. This box is overflowing and we have a second set up to go. Ordinarily, I would not recommend composting against your house. I was horrified one evening to look over my shoulder in my reading nook to see several roof rats scampering down the mesh screen that is compost pile adjacent. However, I justify our approach for now because: 1. we worked with a pest company to completely seal all exterior openings with the appropriate gauge mesh and have not seen rodent activity on the interior of the house. 2. we have slowly gained the trust of 2 feral cats who patrol the grounds and sometimes leave us their trophies. 3. this is a historic house and the soil samples I took at the foundation have very high lead content. The guidance was either to dig out all the dirt, dispose of it somewhere (where?), and backfill with other dirt... or do your best to bury the lead under a layer of heavy mulch. Since I don't plan to disturb these piles when they are finished slow composting in order to amend our garden beds, I am thinking of them as a very thick layer of mulch I am slowly applying around the perimeter of the house.
Back to the worm factory.
So far, my only modification to the instructions was to put a soaked burlap coffee roaster bag on top of the worm bedding because initially a half dozen or so worms wriggled/fell out through the roof/top in my repeated check ins. I think this might have been a bit of shipping disorientation about which way was up (the basement lighting is really dim as well). It might also be due to the the peat block which came with the kit still being a bit too dry despite my adding an order of magnitude more water to it than the guidance. I've been continuing to irrigate it a little bit more on each visit and keeping the tap open at the bottom to know when leachate starts to run off.
[day 4 update]-- Maybe that cheap nylon bag could work as a branded exclusion layer? The burlap sack is pretty bulky and competing with space for scraps and I'm not sure I want to cut into it. Still no sign of leachate, but the worms seem very active, fully rehydrated, and not interested in escaping. I've stopped irrigating when I bring scraps and am thinking about bringing down more shredded paper for cover.
[2/25 update] -- at some point a week or two ago, I overzealously dumped an entire kitchen waste bin into the compost and we have been combatting fruit flies. I topped the 2nd tray up with a lot of paper cover to help. Meanwhile, with our new outdoor cardboard box next to the disintegrating full box-- I was eating dinner with a view out the window these bins were placed under. I heard a yelp, saw something that looked like a sparkler hit our window's bug screen and fall into the new bin I had freshly topped off with 4" of shredded vet medical records for Kai (RIP) and back tax filings. By the time I got out there and hose-filled a watering can, making my way unluckily under the orchard ladder hubby had set up across the walkway to harvest bananas, the pile had a plume of smoke coming out of it. Dispensing with the hose fill, I made two more runs to rapid dunk the can in the rain barrel that had filled in the only big rain we received this winter. I think that doused it, I stirred it with a pick axe, contemplating my discarded Valentine's day rose bouquet garnishing the top of the pile. I was grateful to have seen it happen to intervene as quick as I did and to have had the barrel of rain available. But I think I might still be sleeping less deeply.
[3/13 update] -- roughly 2 months after launch, still battling fruit fly clouds, but they seem to have dissipated a bit into the standing containers of apple cider vinegar. I've got a spider which has taken up residence in the drainage mason jar that looks very fat and happy. The drainage is starting to drain some worm tea which I've been pouring into a summer seed start sprouting tray that sits in a pool of water for irrigation/humidity. I just topped off the second tray and added an empty third. I peeked at the first tray which was a sight with lots of worm stalagtites crawling from the lower level into the second level. We haven't harvested any castings yet, but this seems to be working well (minus the fruit flies).
[5/25] 4021 grams harvested
[5/30] 1704 grams harvested
We noticed an increase in roach sightings and decided they were attracted to the basement compost. It has been relocated to the front porch, outside "the perimeter." The second harvest seemed a little too early, with a lot of residual worms.
[8/5] 1119 grams harvested
[8/17] 1033 grams harvested
Noticing that avocado pits, avocado skins, and eggs don't really break down in here. Maybe they would in a "cooker?"
[9/17] 798 grams harvested
[11/7] 1205 grams
A lot of this was sludge blocking the drainage spigot, but hosing the base off fertilized the fig trees.
[12/16] 2045 grams
[12/18] 2509 grams
[1/27/2026 ] -- 2749 grams today which should give us enough stats for a full year tally.
In year 1, we harvested 37.9 pounds of vermicompost (17,183 grams).
Since it was May before we began harvesting, keeping this going would generate 56 lbs/year. The Factory should be able to hold 1-2 lbs of worms which google thinks should be able to generate 10-20 lbs of vermicompost per month. The marketing on the website makes it look like we are operating wildly under capacity: 6.5 lbs of vermicompost/tray/week * 7 trays * 52 weeks = 2,366 pounds of vermicompost per year?! Going back to the more conservative numbers, it looks like we are operating a little under 50% capacity.
How could I bring that number up?
1. I leave the "done" compost to dry out in the sun sitting on the top of the factory for a day or two to encourage the worms to dive into the fresh tray underneath. This makes the compost lighter for weigh in. I could skip that entire step and in the process not obstruct the loading of that top tray.
2. I could route more buckets of kitchen compost to the vermicompost rather than the unmeasured slow compost. Slow compost in the yard (glorified open-bottom and top Amazon boxes) seem to be the easiest on-going composting method for our family because it is less effortful.
3. I could schedule more frequent vermicompost emptying. It looks like I got around to emptying a tray about monthly, but I could speed that up to fortnightly and see if the material is ready. I have some doubts about this because that would mean a tray has about 3.5 months of "dwell time" in the factory which doesn't seem like enough, particularly for avocados/eggshells, but I could be persuaded otherwise.
No comments:
Post a Comment